
How to: build a video template in Studio
A step-by-step guide to turning a Bluepic template into an animated video, visually in Studio. Set a duration, click a property into an animation, keyframe it on the timeline, then render an MP4 over the API.
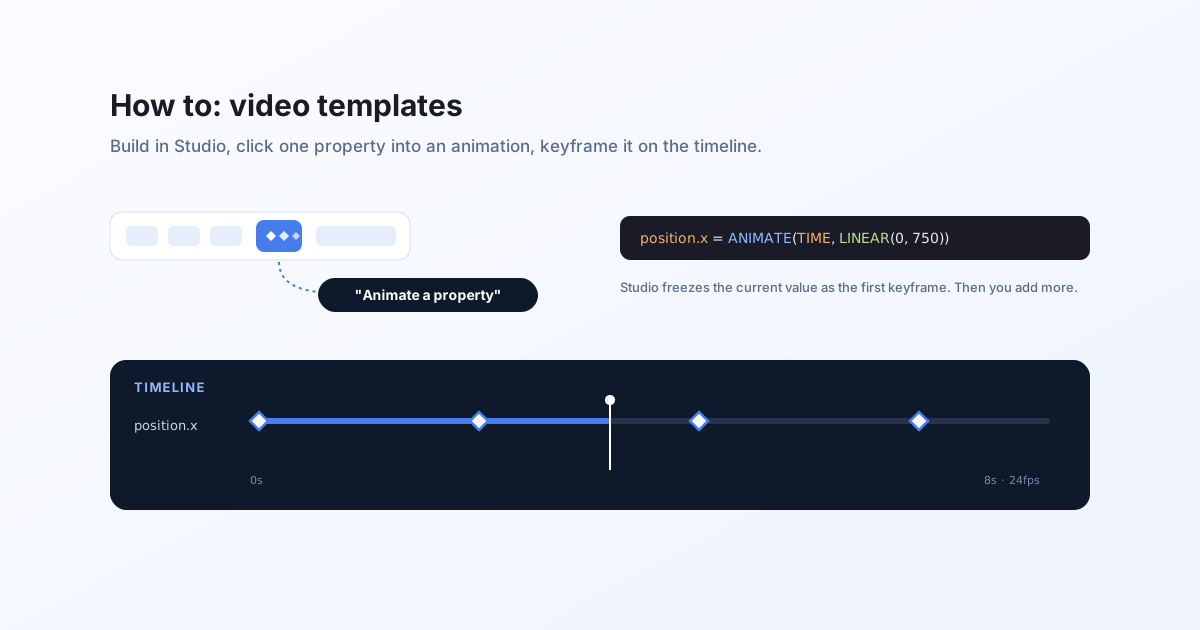
What you are building
A video template is not a separate kind of thing. It is a normal Bluepic template with an animation: a duration, a frame rate, and one or more properties that change over time. You build it visually in Bluepic Studio, and you render it from your code by changing one field on the request. No timeline export, no second tool.
This guide takes a static template and animates it, step by step.
Step 1: Design the template
Start from a normal template. Add your text, images, and shapes, connect the fields you want to fill from data, and get the layout looking right at rest. If you are new to this, follow Creating templates in Bluepic Studio first, then come back.
Everything you already know about templates still applies. Animation is something you add on top, not a different mode you design in.
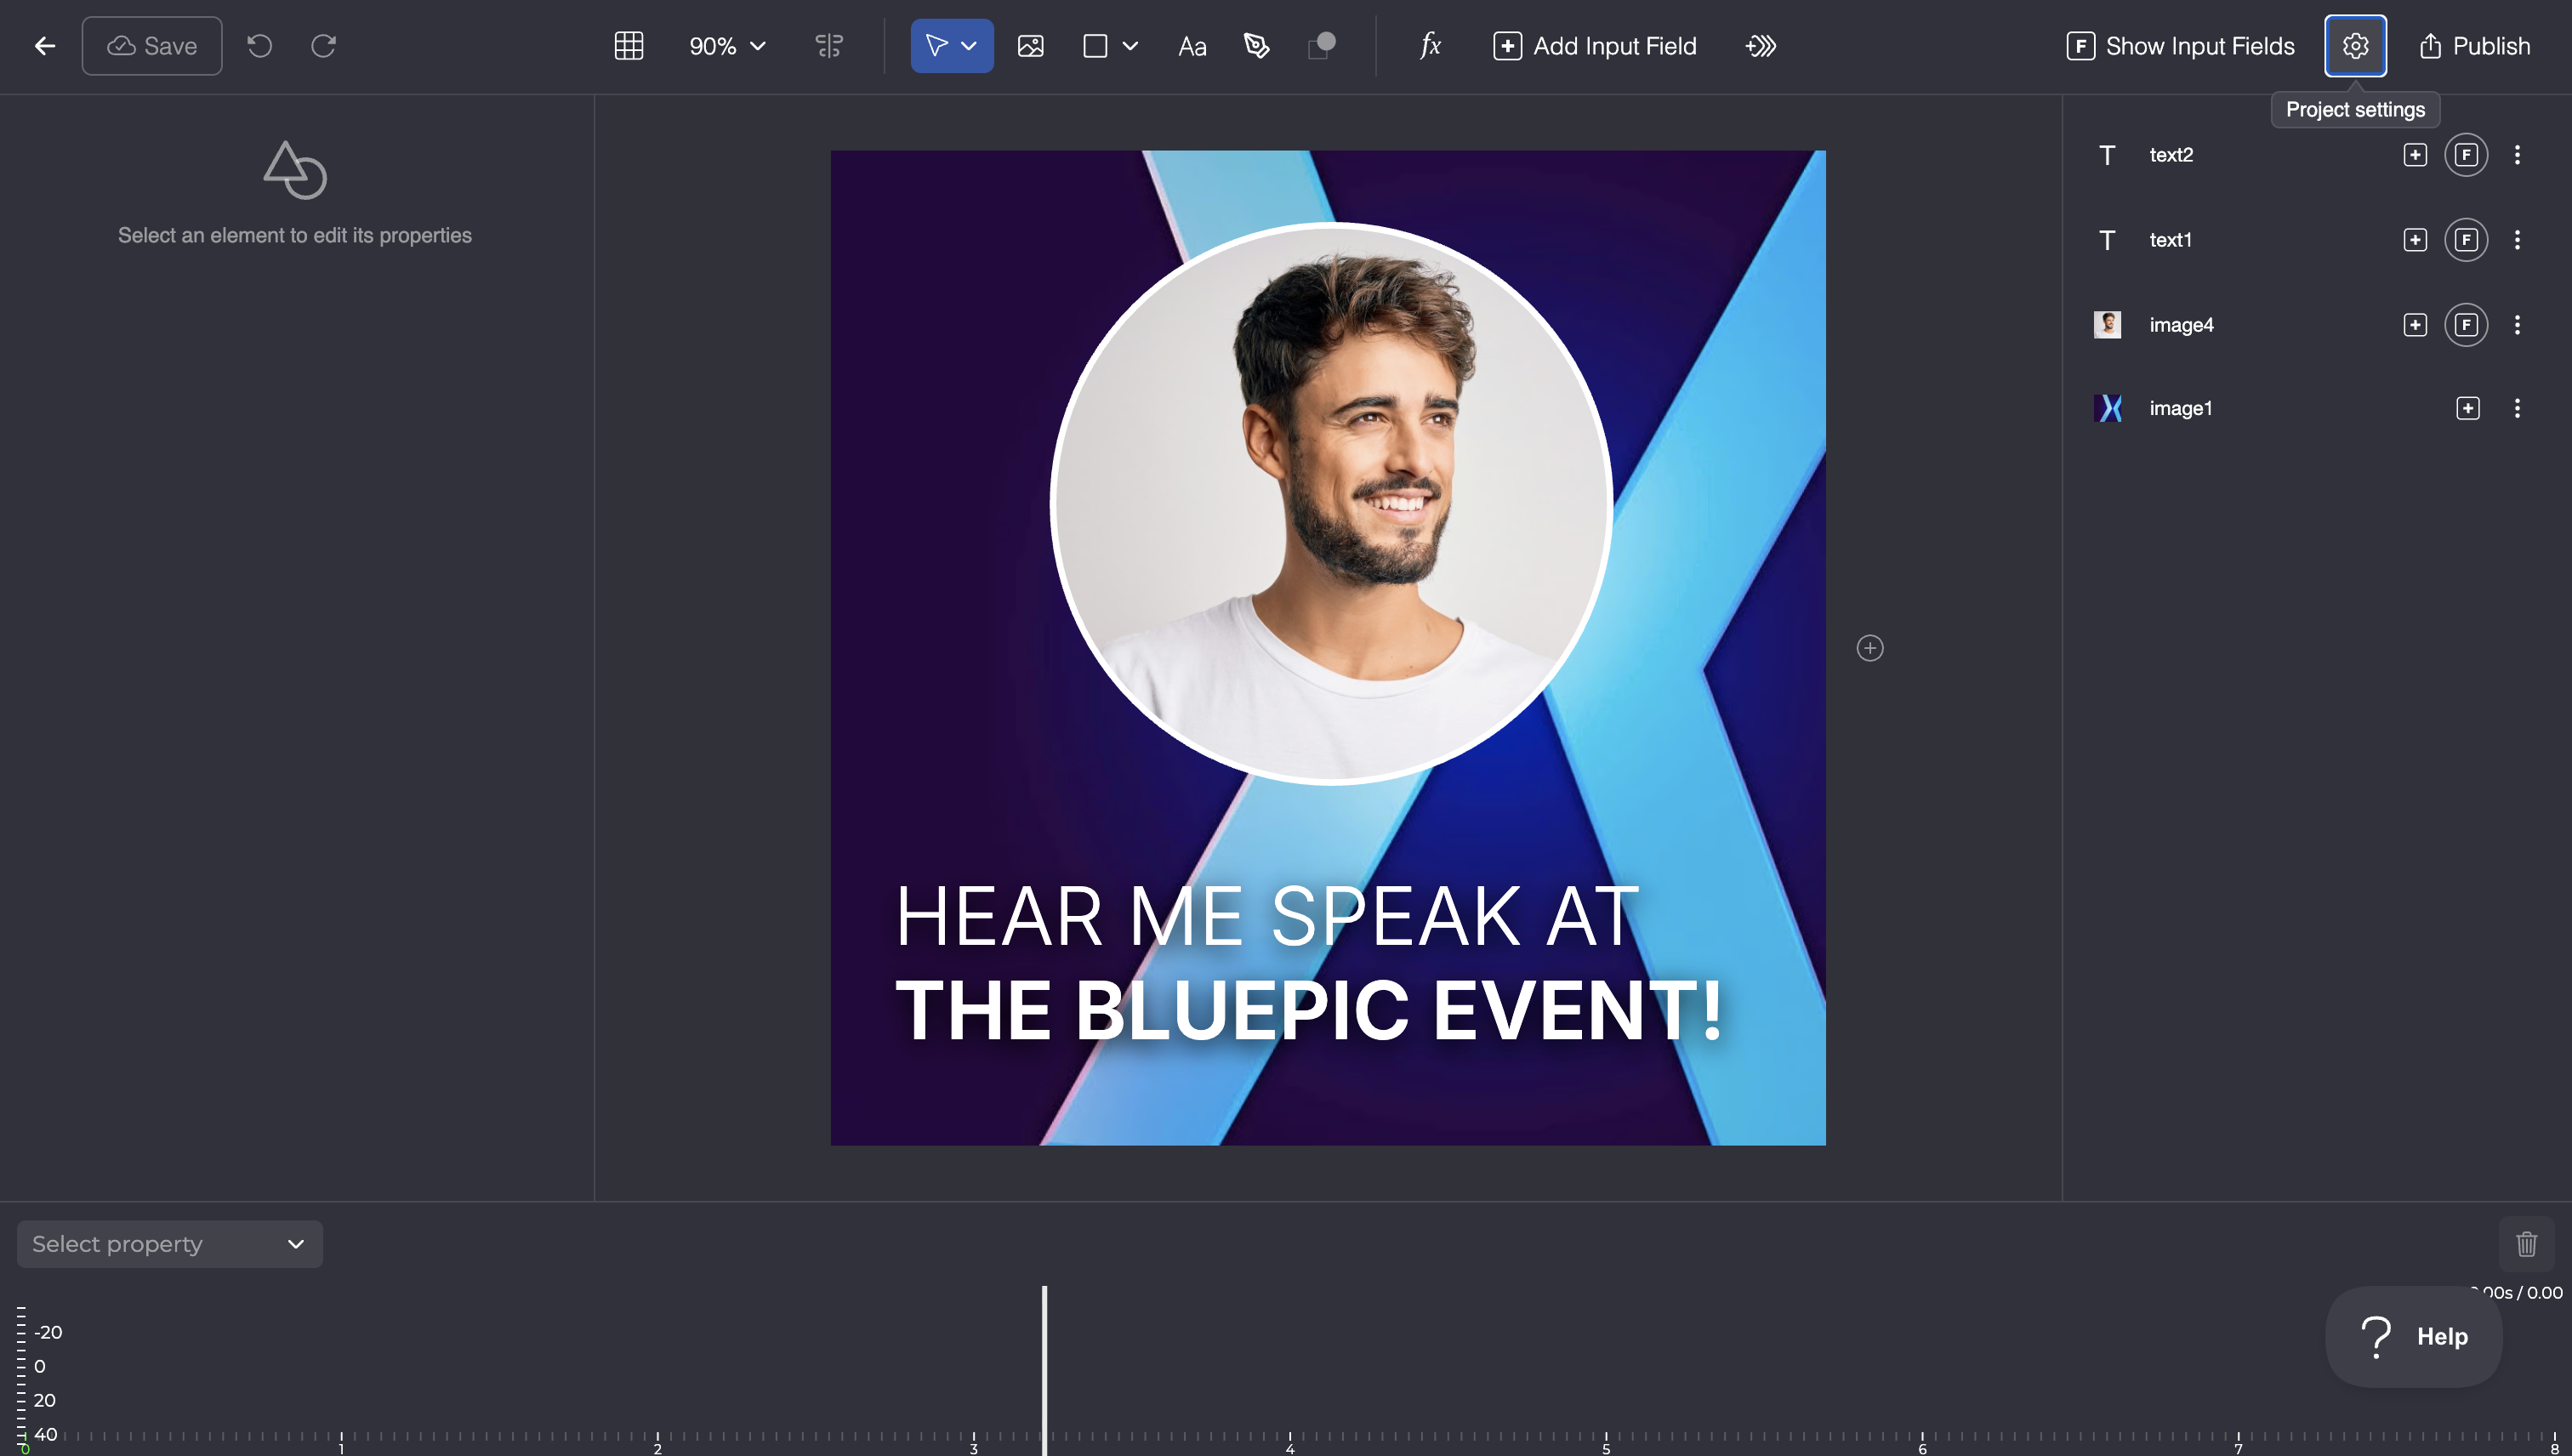
Step 2: Switch the format to video
Open Project Settings (the gear icon, top right) and set the output Format to a video format (mp4, mov, or webm). Two things happen:
- An Animation section appears in Project Settings.
- An Animate a property button appears in the editor toolbar.
Setting a video format is what tells Studio you intend to animate. You can switch back to a still format at any time.
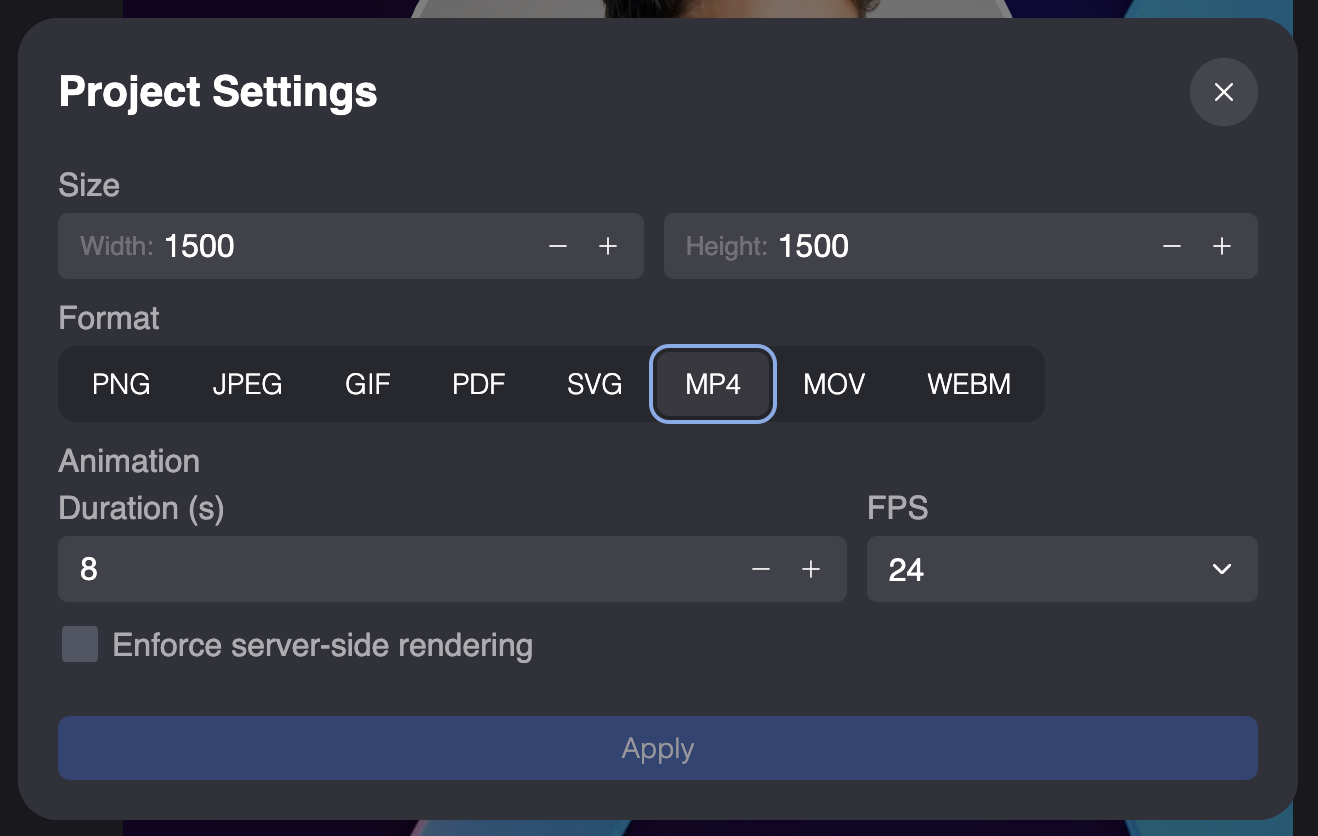
Step 3: Set the duration and frame rate
In the Animation section of Project Settings (shown above), set:
- Duration (s): how long the clip runs, in seconds.
- FPS: frames per second (24 and 30 are typical).
That is the clip's timeline. An 8-second clip at 24fps is 192 frames, and the engine will evaluate your whole template once per frame when it renders. Click Apply.
Step 4: Turn a property into an animation
This is the core move. In the top toolbar, click the Animate a property button (hover a toolbar button to see its name). Studio enters animate mode and highlights the properties that can be animated. Then click the property you want to move.
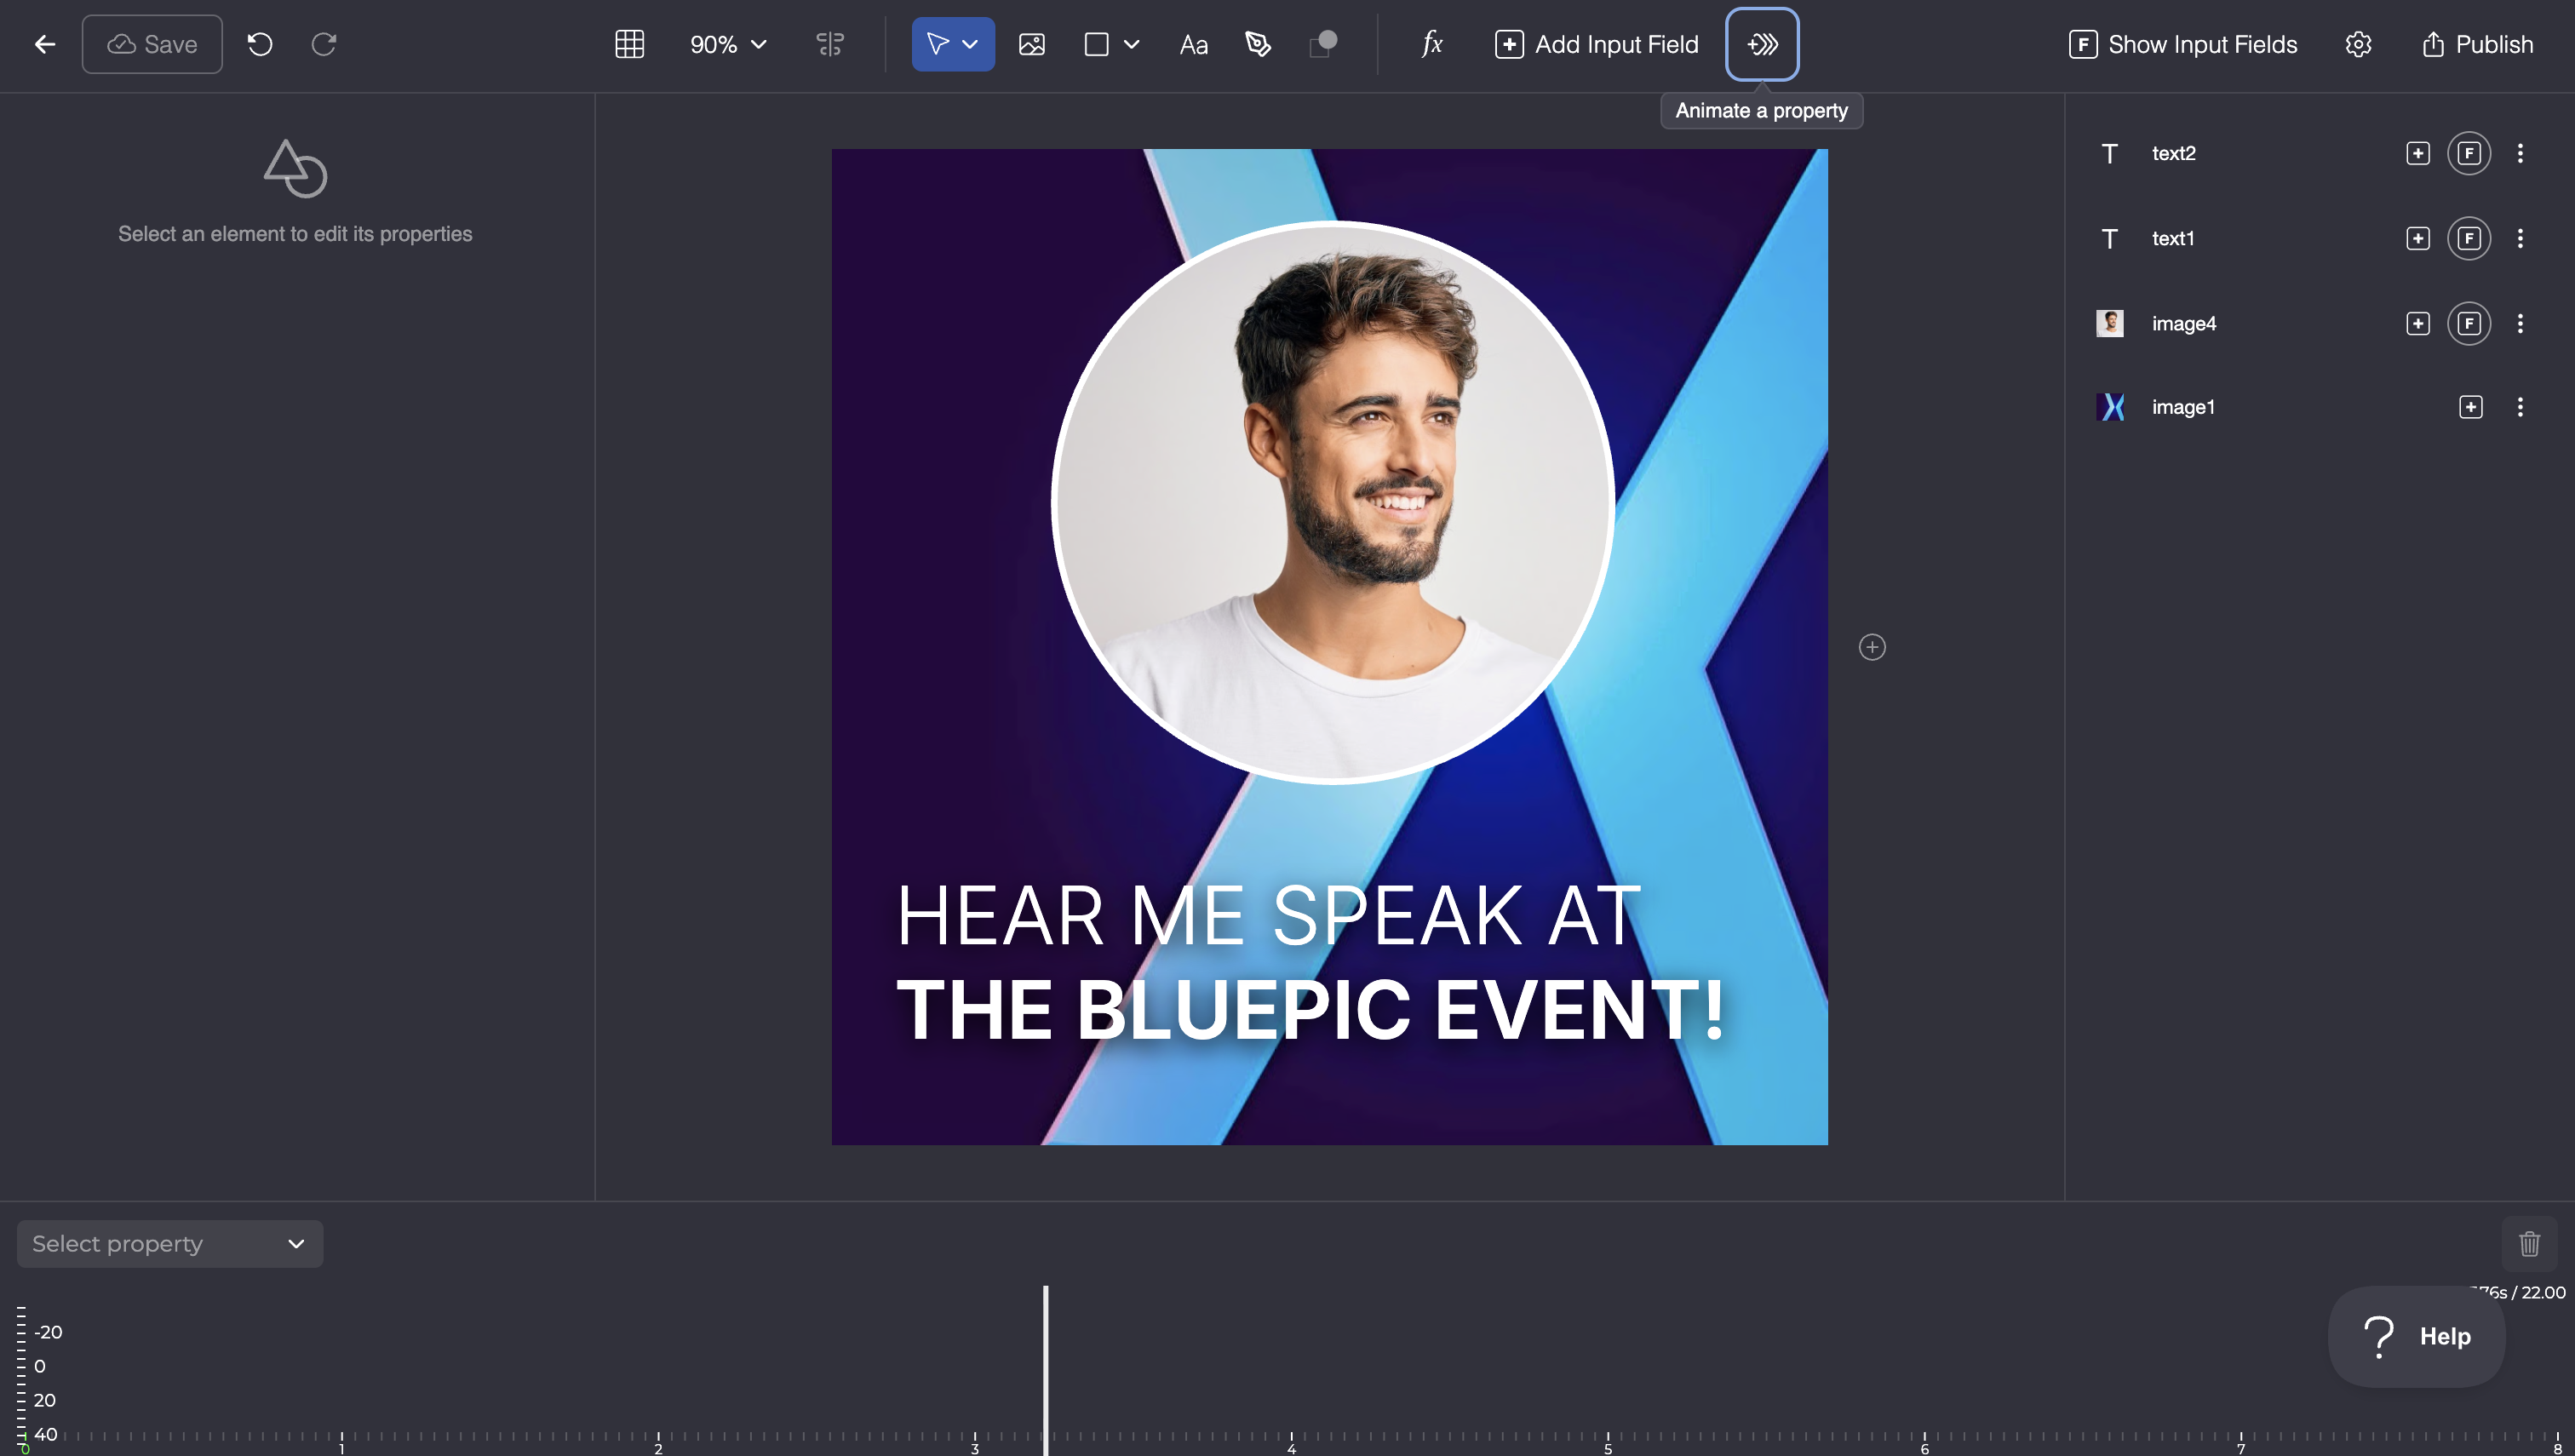
Only numeric properties are animatable, because animation interpolates a number between values: position (x, y), size (width, height), the transform values (translateX/Y, scaleX/Y, rotate), and opacity. Text content and colours are not interpolated this way. You will find these in the element's properties panel on the left, for example under Transforms.
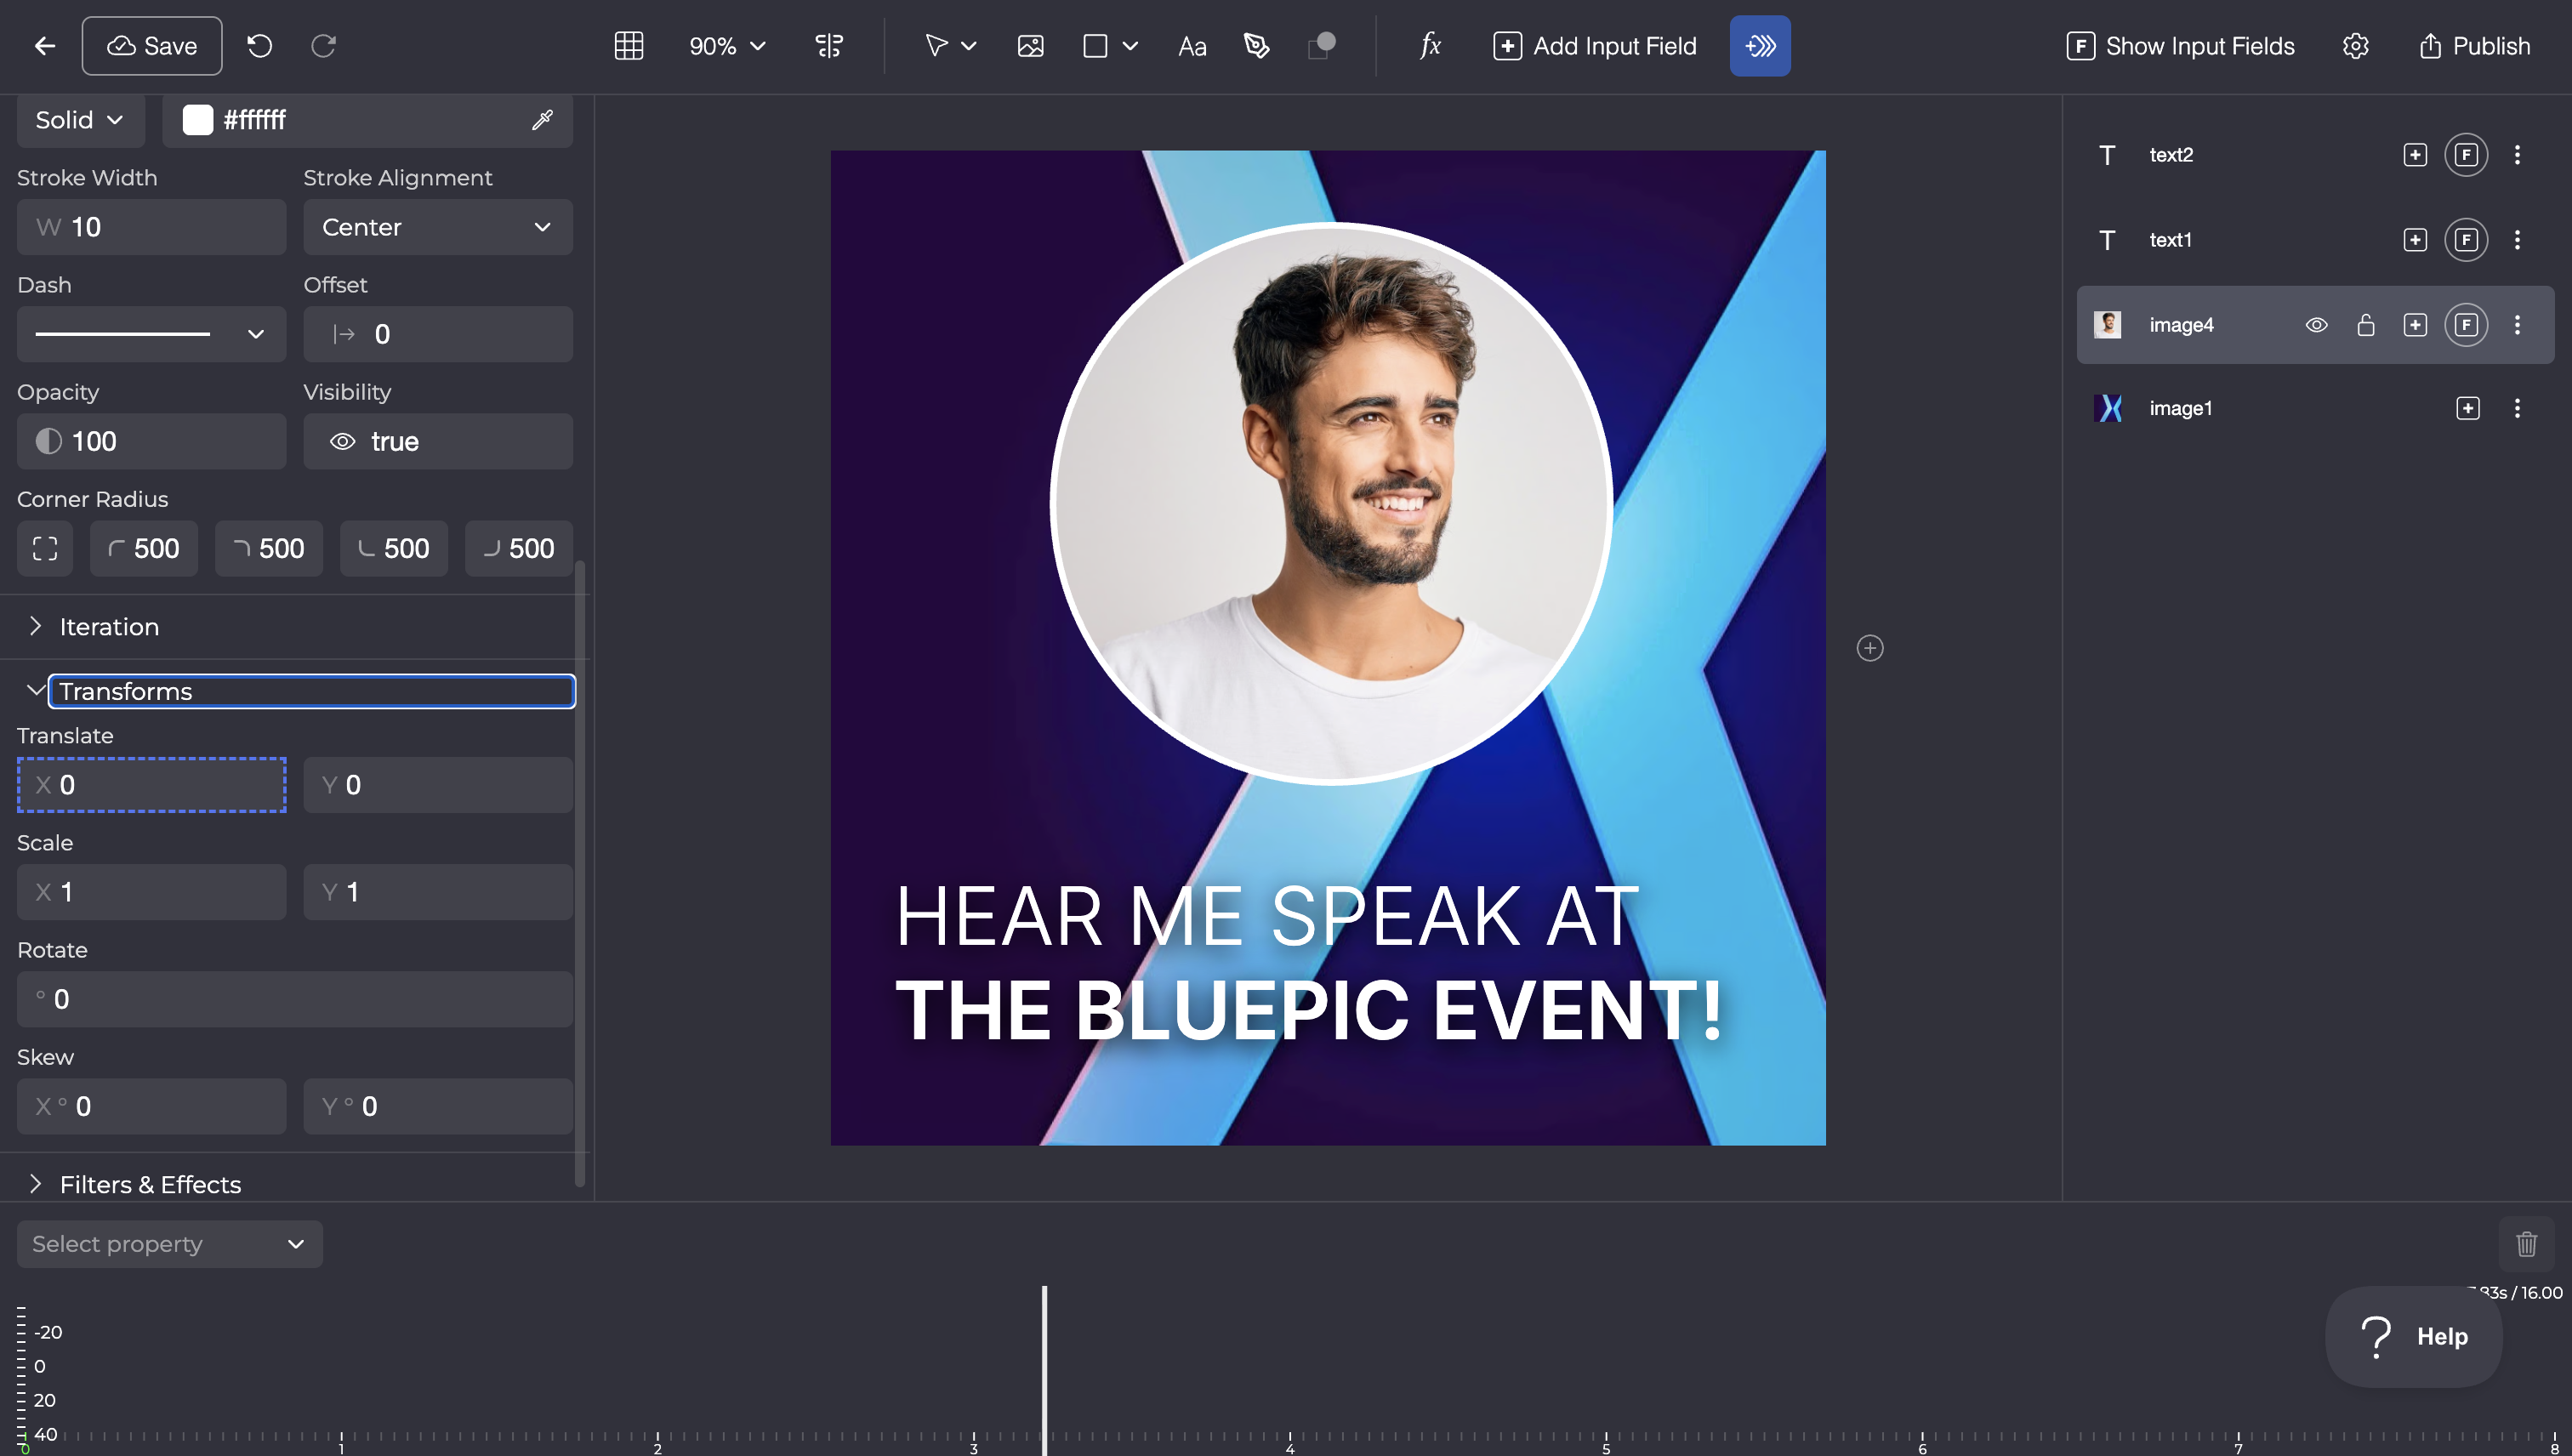
The moment you click a property, Studio freezes its current value as the first keyframe and rewrites the property as an expression:
position.x = ANIMATE(TIME, LINEAR(0, 750))
Read that as: "at TIME 0 seconds, x is 750." Nothing moves yet, because there is only one keyframe. The timeline opens, focused on this property, ready for you to add more.
Step 5: Add keyframes on the timeline
Now build the motion:
- Move the playhead on the timeline to a later moment, say 2 seconds.
- Change the property's value (drag the element, or type a new number). Studio records a new keyframe at that time.
- Repeat for each moment you want to pin down.
For each keyframe you can choose how the value eases into it:
- Linear: a straight, constant-speed move.
- Bezier: an eased move (slow-in, slow-out, or an overshoot), using a cubic-bezier curve, exactly like CSS easing.
Between keyframes, the value interpolates. Before the first keyframe and after the last, it holds. Animate as many properties on as many elements as you like; each gets its own track.

Step 6: Preview
Scrub the timeline. As you drag, Studio sets TIME and re-evaluates every expression live, so you see the exact frames the render will produce. This preview is instant and free; nothing is rendered server-side yet.
Step 7: Render the video over the API
When it looks right, publish the template. Now render it from your code exactly like any other template, but ask for a video format:
curl -N -X POST "https://api.bluepic.io/api/render" \
  -H "Authorization: <your API key>" \
  -H "Content-Type: application/json" \
  -d '{ "templateId": "<your template id>", "data": { }, "format": "mp4" }'
Fill data with the fields you connected in Step 1, one clip per data row. A still render is 1 credit; a video is metered by length and resolution (how video credits work). For the response shape (video streams progress and returns a hosted URL), see one template, two outputs.
How the animation works, briefly
Every keyframe you place is compiled into one expression on the property. The Animate a property button and the timeline are a visual front end for ANIMATE:
ANIMATE(TIME, LINEAR(0, 750), CUBIC(2, 900, …), LINEAR(4, 750))
ANIMATE takes TIME and your keyframes and returns the value at that moment. LINEAR(t, v) and CUBIC(t, v, …) are the straight and eased keyframes you set on the timeline. You never have to type this; it is what Studio writes as you work.
If you want the full model, including composition (750 + ANIMATE(...), 840 * ANIMATE(...)) and how frames are sampled, read the expression engine over TIME.